Installing Apache Airflow using Docker on Windows In Just 5 Minutes
Airflow is a platform created by the community to programmatically author, schedule and monitor workflows.
We can install Airflow locally using docker in just 5minutes and can play around it by creating different data pipelines.
In order to Install Airflow and use it, we need Docker to be installed in our system and then we can use Docker-compose file to install Airflow.
Below are the steps we need to follow :
Step 1 :> Create a separate folder and curl the latest docker-compose file from airflow site.
curl -LfO “https://airflow.apache.org/docs/apache-airflow/2.2.5/docker-compose.yaml"
Step 2 :> Create 3 separate folders named dags , logs , plugins
Step 3 :> Now need to set the environmental variable in .env file
Execute the command -> echo -e “AIRFLOW_UID=$(id -u)” > .env
Note : If you are seeing any error while setting environment variable just like i faced , Don’t worry, you can manually create a .env file and paste AIRFLOW_UID=50000 in it.
Step 4 :> Now need to instantiate Airflow
Execute the command -> docker-compose up airflow-init
Step 5 :> Next need to start Airflow
Execute the command -> docker-compose up
Step 6 :> Now you can check all the airflow docker containers running by executing docker ps command
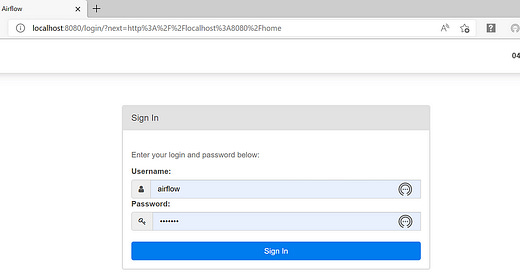
Step 7 :> Now you can access airflow on localhost:8080
Note : Default Username and password mentioned in the
Docker-compose.yaml file.
If you open and check the username and password in the Docker-compose.yaml , you will find both username and password set to airflow
Refer this official airflow document https://airflow.apache.org/docs/apache-airflow/stable/start/docker.html
Instagram : Abhisek Sahu | Instagram
LinkedIn : Abhisek Sahu | LinkedIn
Cheers, Thanks You :)
I will come up with another topic soon , till then , Keep Learning…


